


[Server Core] 在 Core 下修改计算机名
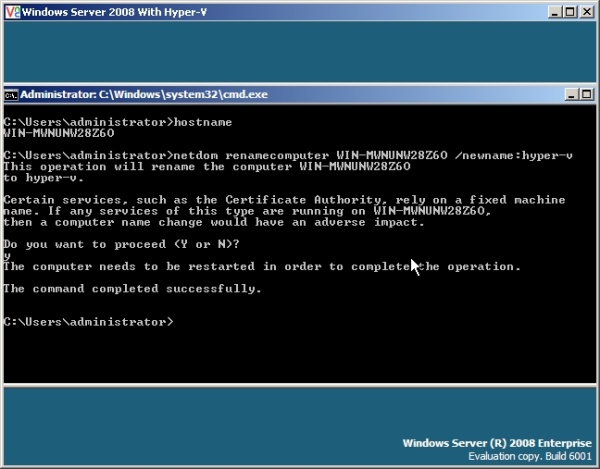
Server Core 默认安装完后会自动为当前计算机分配一个计算机名,这个计算机名可能并不利于记忆或不适合当前环境下的命名规则,为此我们需要为其更名,我们可以通过 hostname 命令回显当前 Server Core 的计算机名,之后通过 Netdom 命令进行更名。为此请在 Server Core 下执行如下步骤:
2、netdom renamecomputer OLDCOMPUTERNAME /newname:NEWCOMPUTERNAME (注:根据提示键入“Y”,以执行该操作)
3、shutdown -r -t 0 (重新启动计算机)
完成!
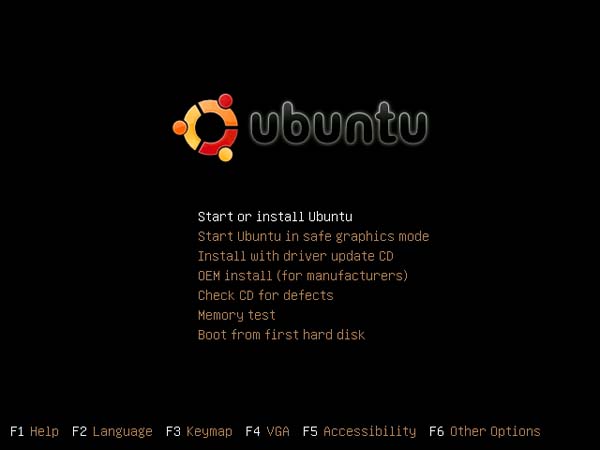
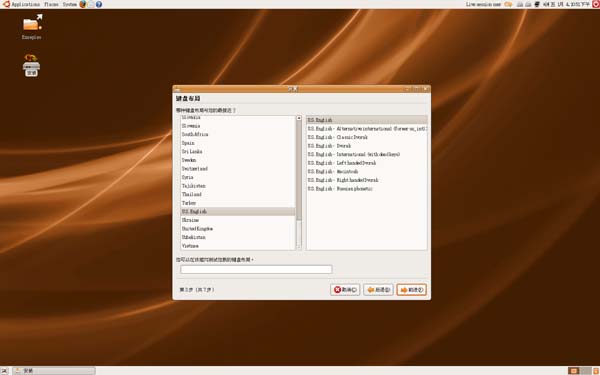
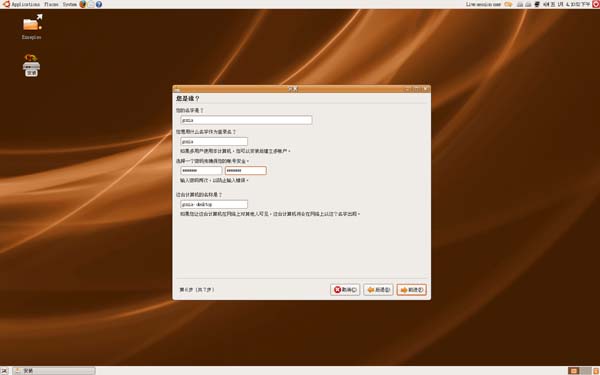
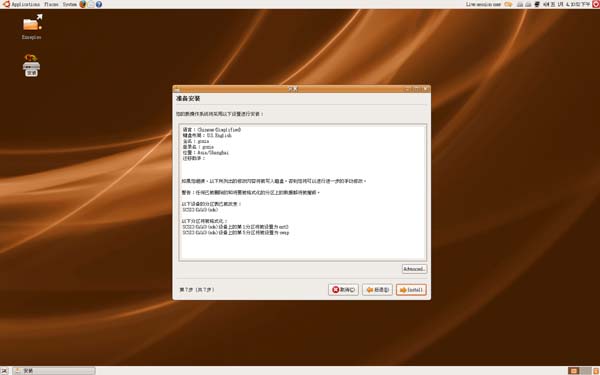
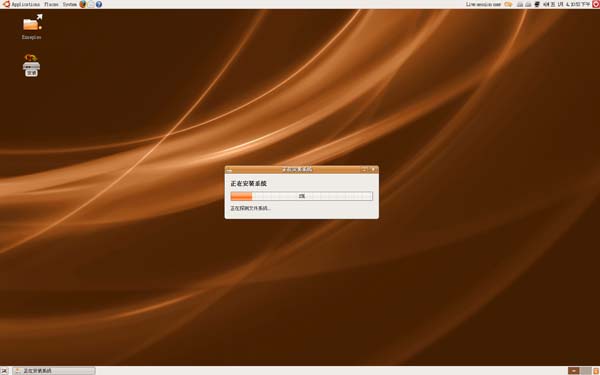
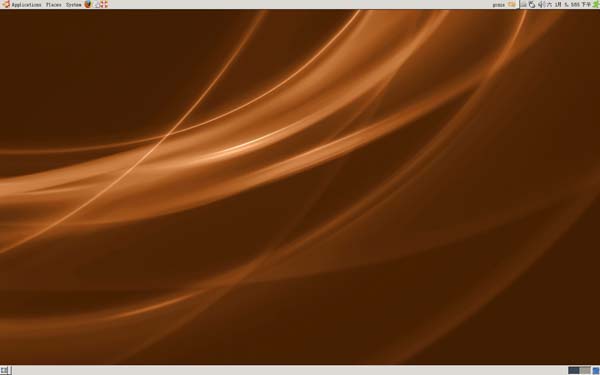
初体验 - Ubuntu 64-bit v7.10
 Ubuntu 64-bit v7.10 Desktop
时下 Linux 方面 Ubuntu 可谓是大出风头,为此我决定尝试一下,起初也是因为 gOS 才会开始关注 Ubuntu,最近才将 PC 及 Server 的 64-bit 版下载下来,昨天晚上进行了安装测试。
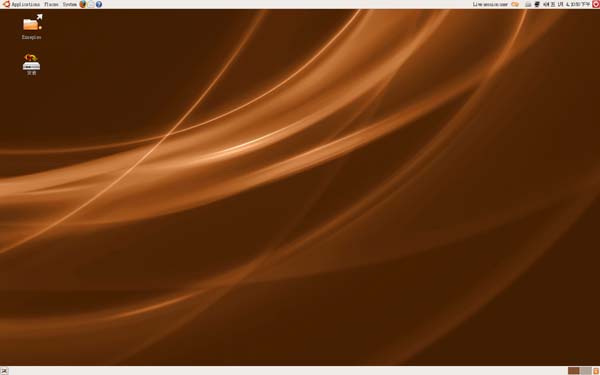
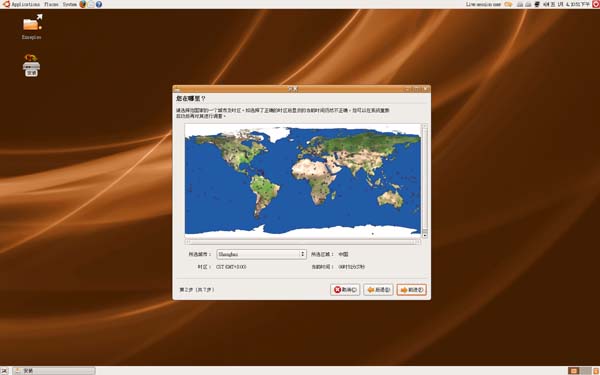
整体来讲 Ubuntu 的安装非常直观简单,但是相比较微软的 Vista,还是略显复杂,Vista 改进的安装模式确实受到了广大用户及媒体的好评,即使是一个初手也能顺利地将 Vista 安装上。呵呵说着说着就比较起来了,确实我更青睐 Windows!
此次安装 Ubuntu 体验时间很短就是安装上看了看,也写不出什么心得,主要是因为在 VMware 下安装时分辨率无法固定,查了资料才知道确实有这个问题,默认 Ubuntu 是 1680*1050 的,GOD!真够强悍的,这在虚拟机里操作可是太麻烦了,不过提到可以在系统完成安装后安装 VMware 插件,实际测试发现载入 VMware 插件光盘后里面的文件都是乱麻,来回切换操作实在太麻烦,网上的插件安装说明也不具体,只得最后放弃,不过奖安装解图下来,供大家参考!
Ubuntu 在宿主上安装后,其性能、功能、兼容性是否如何还需要考证,不过从目前各大厂商开始提供 OEM 安装来看,确实都比较看好 Ubuntu,希望它能走得更长远,有竞争才有进步,操作系统市场还是需要有竞争的,不是么?!
随后我又测试了 Ubuntu 的 Server 版,安装后竟然无法顺利启动只得放弃。下面还是看看解图吧,感兴趣的朋友们可以测试一下,也许会有另类的收获。


VMware 以最大 CPU 频率运行虚拟机
折腾了近1个星期,小黑的系统总算是正常了,测试了N次64位Vista,但是由于受个别驱动及应用程序影响最终让我放弃了它。转而为32位Vista,在今天晚上这个系统彻底装好,包含了常规驱动和小黑必须的驱动应用程序,这次暂时抛弃了小黑特别有连接管理器但是装上了最新发布的R&R4.2,主要用来备份系统状态在需要的时候好快速恢复。
为了能在 Vista 下有效的测试 64bit 的 Windows 及 xNIX,不得不改用 VMware Workstation 6.02,这个版本是完全兼容并能够正常运行在 Vista 下的 VMware,并且支持64位的虚拟机。在这点上微软确实晚了一步也许是除去战略考虑,未来服务器产品系列方面有 Hyper-V 支持,而桌面测试诸如Virtual Server/PC 系列产品不知道在下一个版本是否会对64位虚拟机有所支持,我期待着!相信各位也在期盼……
我当前笔记本的 CPU 是 Intel T7200,并且在 BIOS 中打开了 CPU Speed 管理用于节能,但是当我在 VMware 启动虚拟机时会提示我有关 CPU 频率的提示,为了能够更好的发挥 CPU 的作用并使虚拟机能固定在一个频率上,VMware 发布了一篇 KB,帮助我们来解决这个问题。
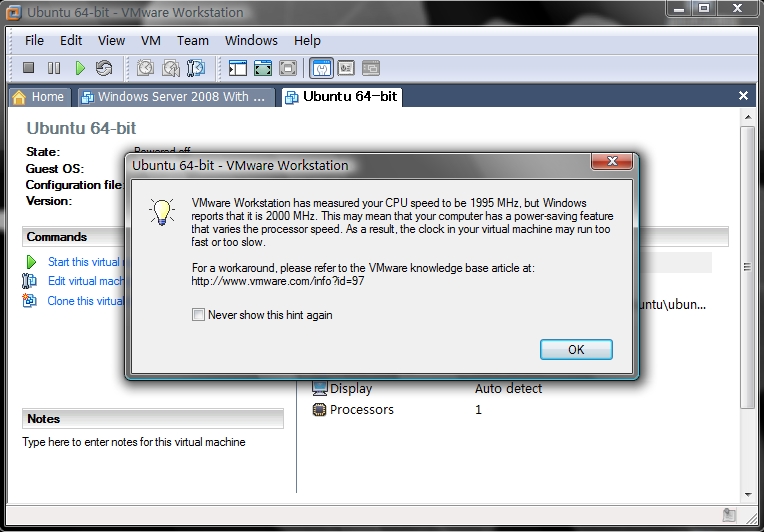
如图所示我们可以访问 http://www.vmware.com/info?id=97 来获取这篇 KB。
下面是转载的 KB 中修改的步骤:
To work around this problem, specify the correct maximum CPU speed in your global configuration file:
- Find the speed of your host's CPU. For example, in Windows XP, right click My Computer, then choose Properties. This path may be different, depending on the version of Windows you use.
Look for config.ini in one of the following locations:
C:\Documents and Settings\All Users\Application Data\VMware\VMware Workstation\config.ini
C:\Documents and Settings\All Users\Application Data\VMware\VMware GSX Server\config.ini
- C:\Documents and Settings\All Users\Application Data\VMware\VMware Server\config.ini
- C:\ProgramData\VMware\VMware Workstation or
C:\Program Files\VMware\VMware Workstation
(on a Windows Vista host running Workstation 6.0)
Note: If the file does not exist, create it as a plain text file in the appropriate location as described above, then edit it as follows. For more detail, see "Creating and Editing config.ini on Windows Hosts" at http://kb.vmware.com/kb/1754.Edit config.ini, adding the lines described below.
The example presented here assumes that the host computer has a maximum speed of 1700MHz. The first line is the most important one. It should be your host computer's maximum speed in KHz—that is, its speed in MHz times 1000, or its speed in GHz times 1000000.
host.cpukHz = "1700000"
host.noTSC = "TRUE"
ptsc.noTSC = "TRUE"
The second and third lines enable a mechanism that tries to keep the guest clock accurate even when the time stamp counter (TSC) is slow.
Note: On Windows, you can use Notepad, but be careful when you save the file that Notepad does not add an extra .txt extension to the filename. You can do that by selecting All files instead of Text files in the Save dialog box.In addition, check the VMware Tools control panel in the guest operating system. On the Options tab, ensure that Time synchronization between the virtual machine and the host operating system is selected.


